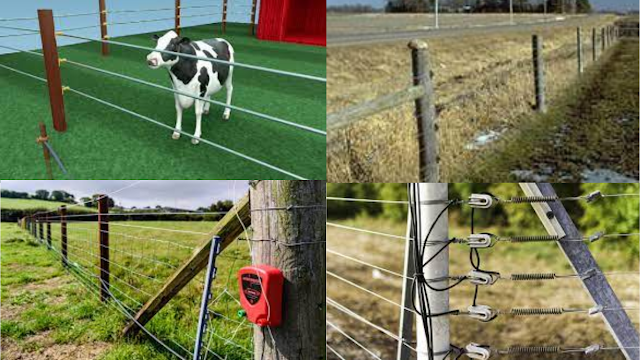
What is the electric fence?
Electric fences are widely used to secure properties and contain livestock. However, regular testing is essential to ensure they are functioning properly and providing effective deterrents. In this article, we will guide you through a step-by-step procedure on how to test an electric fence, ensuring safety and optimal performance.
Procedure and Steps to Test
Step 1:
Before testing your electric fence, gather the following equipment:
- A digital voltmeter or fence tester specifically designed for electric fences.
- Insulated gloves for your safety.
- A sturdy, non-conductive pole or probe for contacting the fence.
Step 2:
For safety purposes, make sure to turn off the energizer or unplug it from the power source before beginning the testing process. This will prevent any accidental shocks while working on the fence.
Step 3:
Using the digital voltmeter or fence tester, set the device to the voltage measurement mode. Proceed to place the tester's probes or the voltmeter's leads on the fence wires or tape, ensuring contact with the conductive material. Record the voltage reading displayed on the device. The ideal voltage level for an electric fence typically varies between 4,000 and 6,000 volts, depending on the type of animals being contained.
Step 4:
A properly functioning electric fence requires an efficient grounding system. Inspect the grounding rods and connections to ensure they are intact and not corroded. Clean the grounding rods if necessary to enhance conductivity. A poor grounding system can result in decreased voltage levels and reduced effectiveness of the electric fence.
Step 5:
Walk along the length of the fence and inspect each section carefully. Use the non-conductive pole or probe to touch the fence wires at regular intervals. Ensure contact between the probe and the wire, maintaining a safe distance from the ground. Observe any drop in voltage readings as you move along the fence. Significant voltage drops can indicate issues such as vegetation touching the wires, damaged insulators, or loose wire connections.
Step 6:
Some electric fence energizers have an audible alert feature that indicates pulses or faults in the system. Turn on the energizer and listen for any irregular sounds or continuous beeping, which could indicate a problem such as a short circuit or damaged wire.
